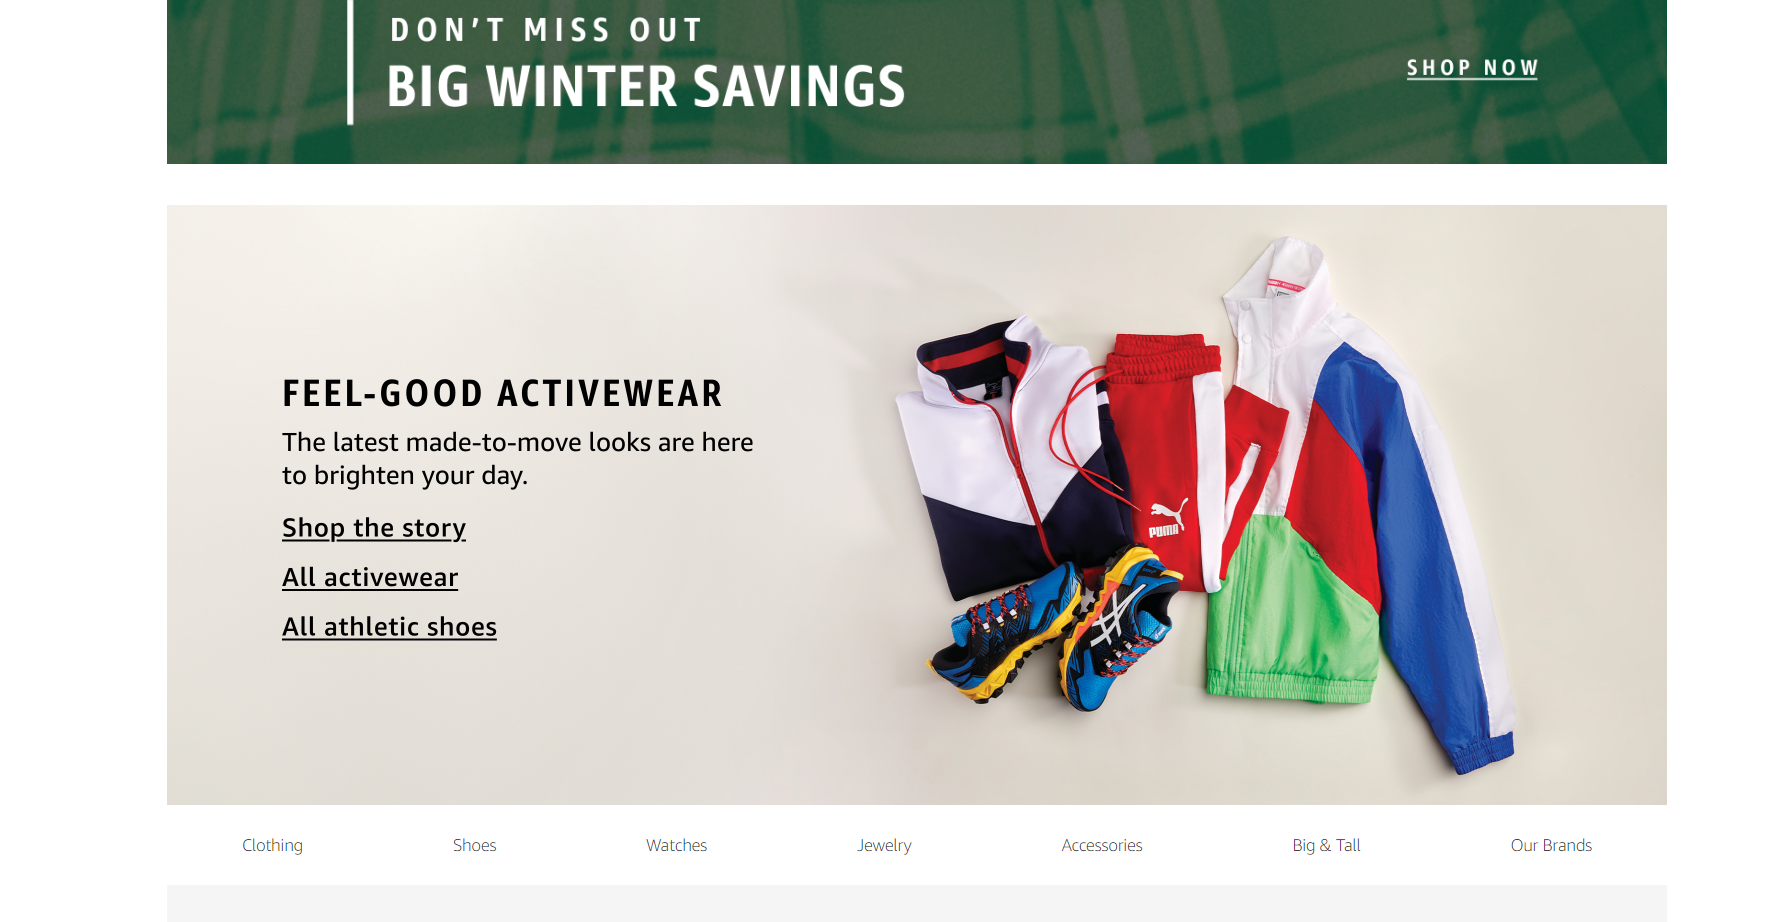
Product photos are the most important part of your product listing and can make or break a sale. They provide potential customers with an idea of what they’re buying before they even click “add to cart.” That’s why it’s essential for e-commerce stores to take the time to create stunning, high-quality images that will make their products look their best.
From lighting and angles to editing techniques and image formats, there are many factors that go into creating amazing product photos. But don’t worry – we’ve got you covered! In this guide, we’ll cover the best practices for your product photos so you can give your customers an unforgettable shopping experience. Let’s get started!
What Is Product Photography?
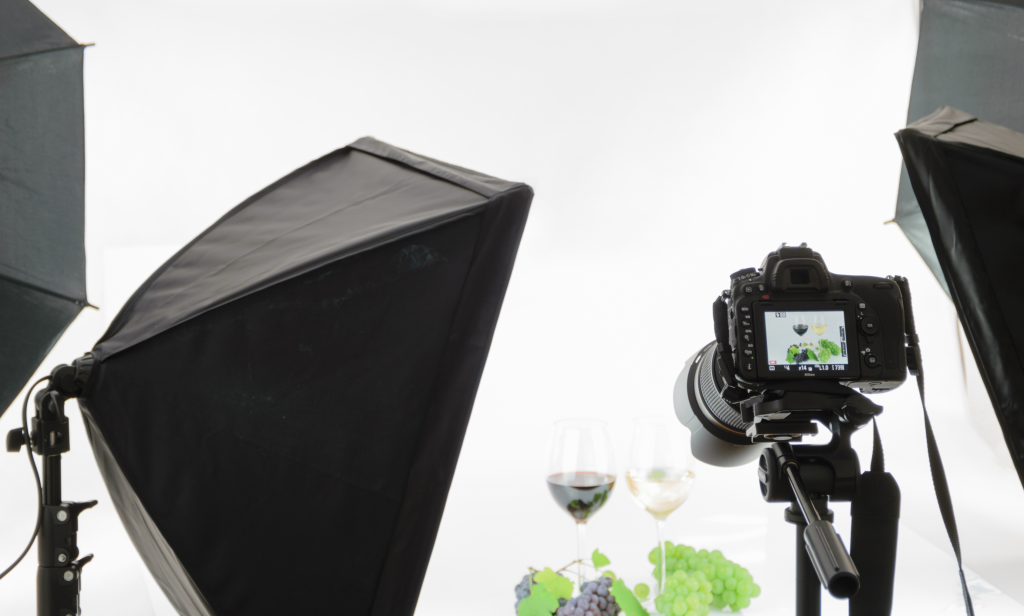
Before we dive into the best practices for product photography, it’s important to understand what product photography is. Product photography is a unique specialty field of photography that excels at bringing life to objects and products.
It’s all about capturing the essence of an object in one stunning image, whether it’s highlighting intricate details or showing off the scale of an item. This type of photography requires careful attention to detail and creative problem-solving.
Best Practices For Product Photography
Now that you know what professional product photography is, let’s discuss the top product photography tips for taking amazing photos of your products.
1. Use Quality Equipment
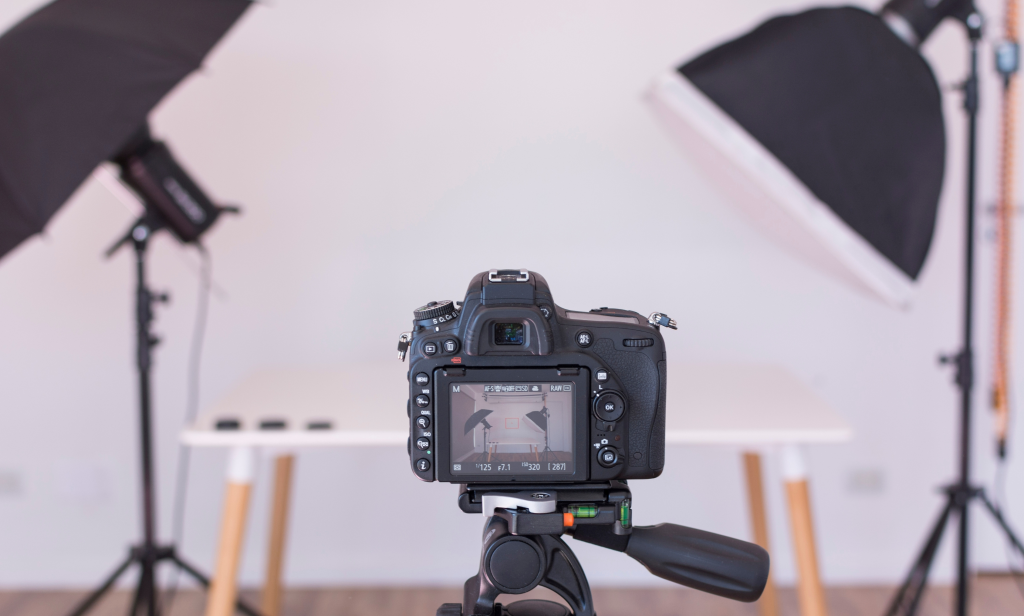
The first step to taking amazing product photos is to use quality equipment. Invest in a good camera, lighting, and backdrop that will give your images the high-quality appearance you’re striving for.
a) Cameras For product photography
The most important factor for taking great product photos is to use the right camera. A digital SLR (DSLR) camera is ideal since it offers a wide range of settings, including shutter speed, aperture, and ISO. You can also use mirrorless cameras or point-and-shoot cameras if you don’t have access to a DSLR.
Phone cameras are also becoming increasingly popular for product photography. Regardless of the camera you choose, make sure it has a good resolution and is able to capture clear photos with accurate colors.
b) Lens
The lens you use will also affect the quality of your images. Generally, a zoom lens with a wide-angle setting is best for product photography since it can capture more detail in each shot. You also want to make sure that the lens is sharp and clear.
If you’re using a DSLR, you can use a macro lens for more intricate shots of small products, but if you’re using your smartphone camera, there are plenty of clip-on lenses available to give your photos a professional look. Some lenses are also designed to reduce glare and reflections, so make sure you look for those when picking out a lens!
c) Backdrops
Having an appropriate backdrop will help give your photos some context and make them look even more professional. While setting up the backdrops, make sure to use a seamless backdrop for the best possible effect because it will allow you to edit out any unwanted details without making the image look uneven. Backdrop colors should be chosen carefully to match the product you’re photographing plus to enhance the image quality along with any other props you’re using.
d) Lighting
Lighting is key when it comes to taking great product photos. Natural light is often the best option since natural lighting can be used for both indoor and outdoor shoots, but if you’re shooting indoors, you may need to use artificial lighting as well. Try using a combination of artificial product photography lighting e.g softbox lights and LED light panels, or even an inexpensive ring light, to achieve the perfect product photography lighting.
Natural or artificial lighting can be used to create shadows or highlight specific areas of the product, so it’s important to experiment with different lighting setups.
To get the best results, make sure to use diffusers and reflectors when setting up your lights so that shadows and reflections don’t interfere with your photos. You may also want to experiment with different light settings and angles until you find one that looks best for each product.
e) Tri-pods
Using a tripod in your product photography setup is essential when it comes to taking product photos since it will help you keep your camera steady and take sharp, blur-free shots. Having a tripod will also give you the ability to take photos from different angles and heights.
This can be critical when it comes to capturing all the details of your product shots. Some photographers also prefer to use a light stand with a reflector attached to it in order to help create the perfect lighting for their photos.
This equipment might cost you a bit of money, but once you invest in it, you’ll be able to take quality product photos for years to come.
2. Choose The Right Angle
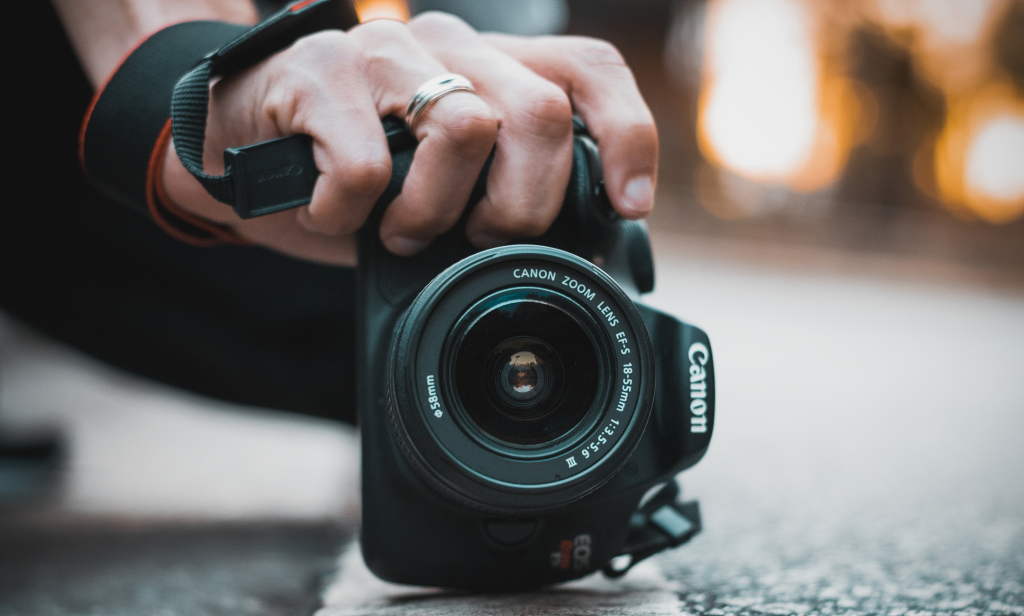
When it comes to your product photos, the angle you choose is almost as important as the lighting. It’s essential that customers can easily see the item—which might mean getting up close or standing further away and showing more of the context. If you’re selling a piece of jewelry, for example, featuring an overhead shot can help shoppers spot the details.
For furniture, though, a side-view shot might be the better option. Play around with angles to get the most eye-catching view of your product. Some items may require a few different shots from multiple angles to give customers the full 360-degree view.
Of course, not all items are able to be moved around for better angles. In that case, choose the angle that still showcases all of the details. A good rule of thumb is to look at your product and ask yourself: “Is this the angle I’d see if I was in a store?” If not, consider adjusting the angle until it looks natural and inviting. By making sure that all of your product shots look as realistic as possible, customers will be more likely to trust what they’re seeing. There are some general rules to follow such as:
- Try and match the camera angle to how a customer would see the product in person.
- Get up close and personal when photographing smaller items.
- Stand back further for larger products so that customers can get a better view.
- Don’t be afraid to experiment with angles—even odd ones! Sometimes, unusual angles can lead to unexpected and creative shots.
By ensuring that you choose the right angle for your product photos, you’ll show off your items in their best light. It’s a simple yet effective way to make sure customers have all of the information they need when deciding whether or not to buy from you.
3. Utilize Props
Props are a great way to make your product photos more appealing and aesthetically pleasing. They can also be used to add context, create interesting compositions, and provide scale. Some props to consider incorporating into your product photography include:
- Plants: Adding plants to product photographs can give it a more natural feel and make your product more inviting.
- Letters: Placing letters alongside your product can create an interesting composition and help reinforce the message you’re trying to convey.
- Objects: Objects such as clocks, books, or any other props with artificial light that are related to your product can add depth to your photos and help create a more compelling narrative.
- Textures: Incorporating textures, such as wood or marble with soft light, can provide an interesting backdrop for your product shots and make them stand out from the crowd.
Additionally, you should also consider the size of your props compared to the product. Making sure that the props don’t overpower the product is important, as it will ensure that your product remains the focal point in each photo.
By utilizing props in your product photography, you can create images that are attractive and engaging while still highlighting the features of your product. Props can really help you stand out from the competition and give your product photography a unique edge that your customers will appreciate. DIY product photography tutorial sites such as Mango Street, Unsplash, and Pexels offer lots of useful tips and advice on how to get the most out of your product photography.
4. Use Post-Processing Tools

When you’ve taken your photo there are several post-processing tools you can use to enhance the image. These tools involve several functions such as:
- Color correction: adjusting the light, shadows, and tint of your photo.
- Contrast adjustment: making sure the photo looks vibrant and stands out.
- Resizing: making sure that the image is properly sized for its intended purpose.
- Cropping: selecting the essential parts of the image and excluding any unnecessary elements.
Post-processing can help you take your product photos to the next level, making sure that they look professional and eye-catching. It’s important to remember though, not to overuse these tools as too much manipulation can make an image look artificial or unnatural. Keep it simple and make sure your photo looks natural while still being visually appealing.
There is a variety of software that you can use to edit your photos such as:
- Adobe Lightroom: Adobe’s professional-grade photo editing software is great for adjusting white balance, and exposure, editing lifestyle shots, and other image parameters.
- Affinity Photo: Affinity Photo is a powerful feature-rich alternative to the popular Adobe Photoshop, providing you with all the tools necessary for creating stunning visuals.
- Snapseed: Snapseed is an easy-to-use photo editing app with a wide range of features that allow you to make subtle edits to your photos quickly and easily.
Each of these software has a range of features that can help you take your high-quality photos to the next level. Experiment with the different tools in order to find the ones that work best for you and your product photos. Ultimately, it’s important to ensure that your images look professional, natural, and visually appealing. With the right post-processing tools, you can make sure that they do just that.
5. Styling Your Product
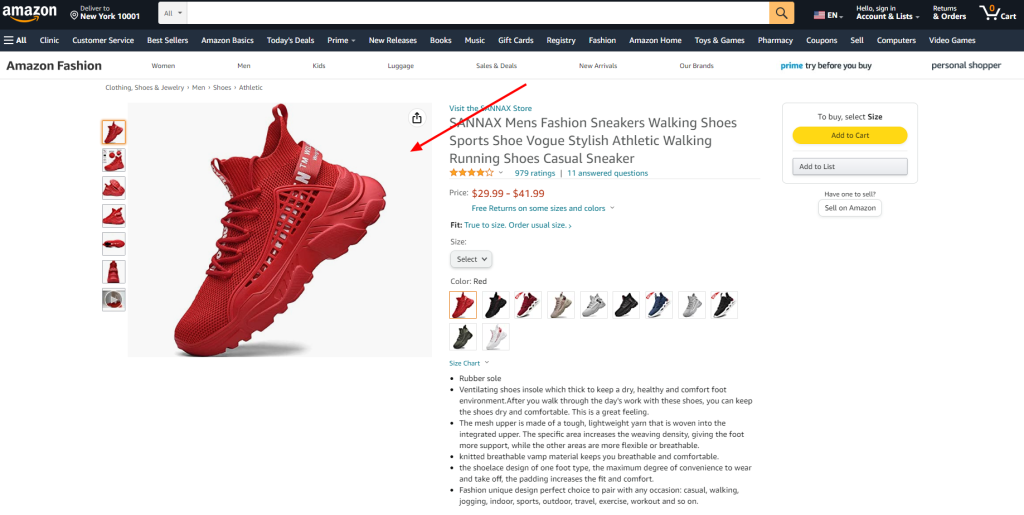
While having the right props and post-processing tools are important, it’s also essential to make sure that your product is properly styled before taking a photo. This could mean ironing wrinkled garments, pairing accessories with outfits, or simply tidying up the product in general. Ideally, you should also make sure that your product is as eye-catching and creative as possible in order to draw more attention from customers.
Consider adding unique touches such as ribbons, fresh flowers, or textured fabrics to make your product stand out. Having a consistent style and color palette to shoot product photos can also help you create a memorable brand identity.
For example, if you’re selling jewelry, you could use a velvet background and earthy colors to create a vintage yet luxurious feel. Make sure that your product is the focus of the photo and avoid cluttering the background with too many props or colors.
6. Final Touches
Once you’ve taken and edited your photos, it’s time to add the final touches. This could involve adding titles, descriptions, or tags that accurately describe the product in each photo. Doing this makes it easier for customers to find the products they’re looking for, leading to more sales and a better user experience.
Additionally, adding titles and tags also allows search engine algorithms to index your content correctly and make sure that your product images show up in relevant searches. This can increase the visibility of your website and attract more buyers.
It’s also important to make sure that you include the necessary copyright and attribution information when posting images of products. Make sure to get permission from any photographers whose work you use, and credit them appropriately. This can help build your reputation as a trustworthy source for accurate product photos.
With these final touches in place, you’ll have beautiful, professional product photos that showcase your products in the best possible light. Your customers will appreciate the attention to detail and be more likely to make a purchase.
Wrapping Up!
Now that you have all the information and product photography tips to take great photos of your products, you can start taking your own shots and improving your product photography skills. Remember that good photographs are the key to enhancing your products and boosting sales, so it’s worth investing in a good camera or hiring a professional photographer if possible.
Keep practicing and experimenting with different angles, lighting, backgrounds, and photo editing techniques until you find the right mix of elements to capture the true essence of your products. With enough perseverance and attention to detail, you’ll be able to create stunning product photos that will draw customers in and help increase conversions.
Be sure to check out our other e-commerce guides.

