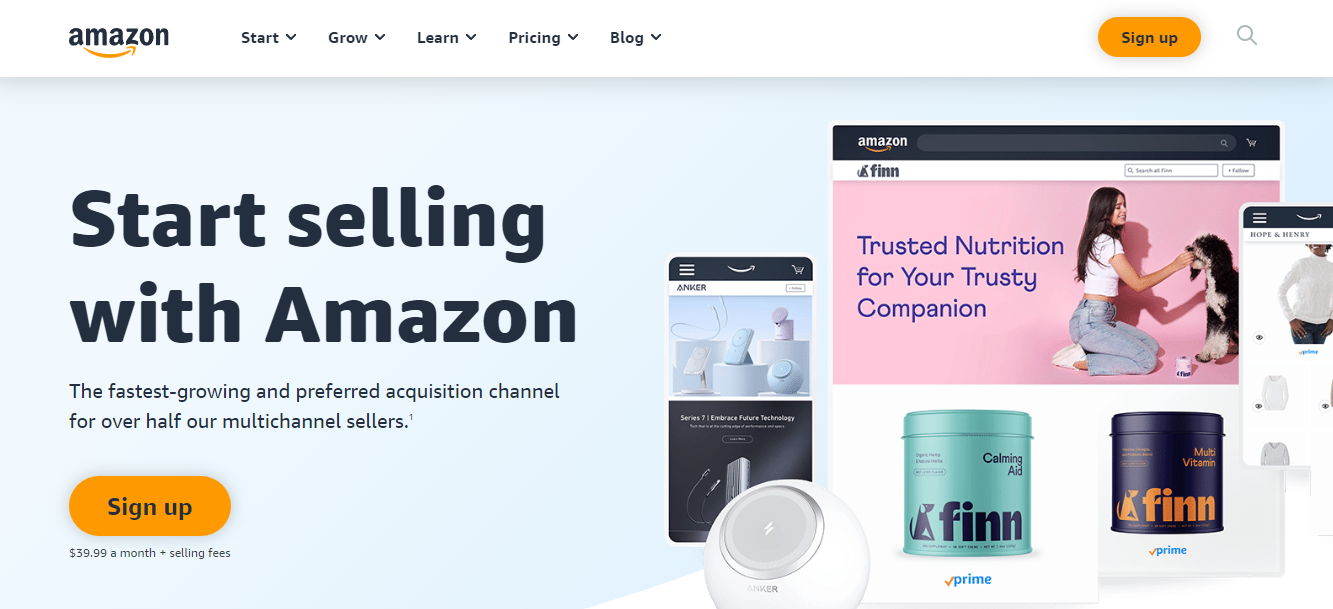
With over 310 million active customer accounts, Amazon is undoubtedly the biggest marketplace in the world. Whether you are a small business or an individual looking to start selling online, Amazon is a great platform to do so.
If you’re considering selling on Amazon, we’ll cover everything from setting up your seller account to creating product listings, inventory management, optimizing your listings for maximum visibility, and even some tips on fulfillment and customer service. By the end of this guide, you’ll be ready to start selling on Amazon and generating revenue for your business.
Let’s get started!
Why Sell On Amazon?
As an eCommerce platform, Amazon is unrivaled. In 2021, they recorded a whopping $469.822 billion in net sales. This is more than 50% of all eCommerce sales in the US! And this trend is only set to continue with their recent acquisition of other niches.
This means that there is a huge opportunity for sellers to get a piece of the pie by selling on Amazon. Many businesses have already made the switch and are seeing great results.
Also, Amazon is a trusted platform with a great reputation. This instills confidence in buyers and makes them more likely to purchase. Also, they provide you with access to their vast customer base. This would be very difficult and expensive to achieve on your own.
Finally, Amazon takes care of all the heavy lifting regarding fulfillment and customer service. This leaves you free to focus on other aspects of your Amazon business.
7 Steps To Selling On Amazon For Beginners
While it might seem complicated and daunting to start selling on Amazon, it doesn’t have to be. By following these simple steps, you can launch your own Amazon business in no time.
Step 1: Figure Out What You’ll Sell
Before selling on Amazon, you must figure out what you’ll be selling and conduct your own product research. There are a few different options available to Amazon sellers:
1. Retail Arbitrage
With retail arbitrage, you buy products from brick-and-mortar stores or online retailers and then sell them on Amazon at a higher price. This is a good option if you’re looking to get started quickly and don’t mind working with products already available on the market. Also, since you’re buying products from other retailers, you don’t have to worry about manufacturing or shipping costs.
2. White Labeling
White labeling is when you buy products that are already manufactured and then put your brand on them. It offers you the ability to carry products that are unique to your brand without the expense of creating a new product from scratch. You’ll have to pay for the manufacturing costs and shipping of course, but you won’t have to worry expensive mold costs and prototyping.
3. Private Labeling
Private labeling is similar to white labeling, but you’ll also be involved in the product’s design process. It allows you to control the product and manufacturing process completely. Also, since you’ll be working with the manufacturer directly, you may be able to get a lower price per unit. However, this option will take more time and money to get started.
4. Dropshipping
Dropshipping is when you sell products shipped directly from the supplier to the customer. You can try if you don’t want to carry any inventory yourself. You’ll just need to create a listing on Amazon and then forward the orders to your supplier. They will take care of shipping the same product to the customer. The downside of dropshipping is that you’ll have less control over the quality of the product and the shipping times.
5. Selling Your Own Products
You’ll need to create or find a product to sell for this option. This could be a physical product, a digital product, or even a service. If you go this route, you’ll be in charge of the entire process from start to finish. You’ll need to take care of manufacturing, shipping, and customer service. The option will take more time and money to start, but it can be very rewarding.
How To Research Which Products To Sell?
Finding the right product is crucial, and there are a few different ways to research potential products to sell on Amazon.
- One way is to look at what other sellers are selling. You can use Amazon’s “Best Sellers” list to see what items are selling well on the site. This can give you some ideas for products you might want to sell.
- Another option for product research is to use a tool like Jungle Scout. This tool allows you to search for products based on sales volume, price, and more criteria. It can help you narrow down your options and find products more likely to sell well on Amazon.
Once you’ve found a few potential products to sell on Amazon, it’s important to do further research to ensure that the products are in demand and that there is a market for them. You can use Google Trends to see if there is currently a lot of interest in the product or if interest has been declining over time.
If you’re selling a physical product, it’s also important to make sure that it’s something people want to buy. You can use Amazon’s “Customer Reviews” section to understand what people think of the product.
Step 2: Choose An Amazon Seller Account
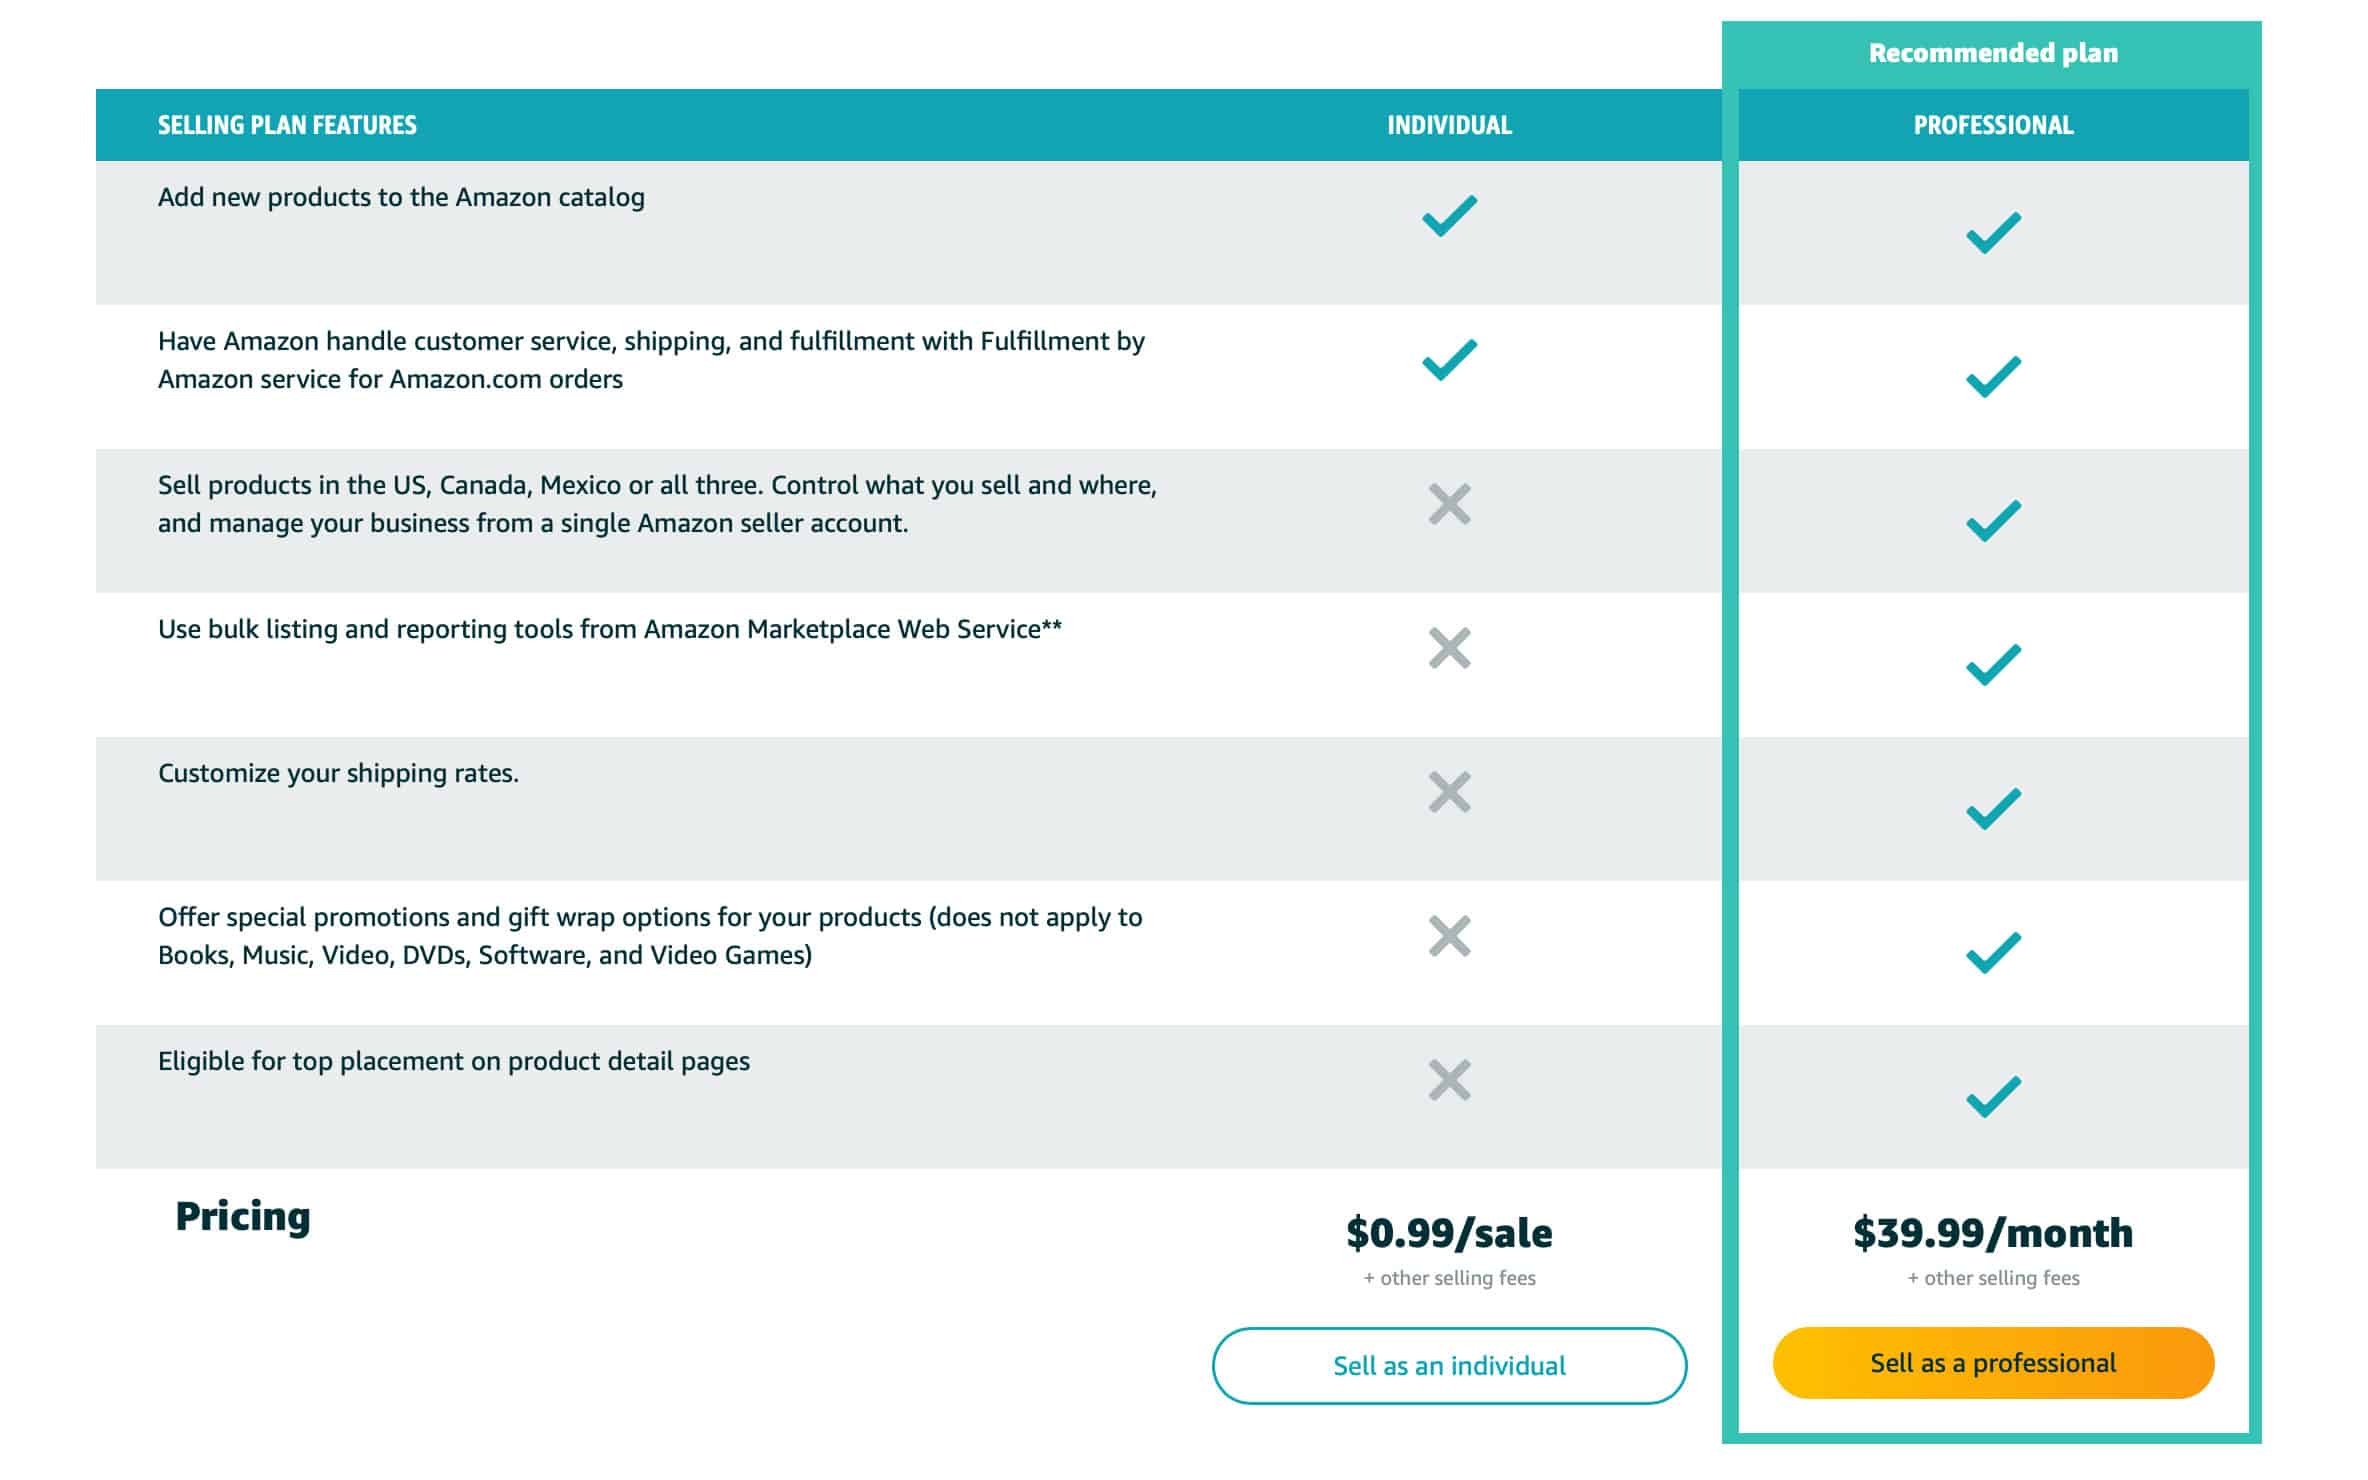
Now that you know how to find profitable products to sell on Amazon, it’s time to choose a selling plan. As an Amazon seller, you have two options: Individual or Professional.
The Individual plan is likely the best option if you’re just starting out or only planning to sell a few items monthly. With this plan, you pay $0.99 per item sold.
However, if you’re planning on selling more than 40 items per month, the Professional plan is likely a better fit. With this plan, you pay a monthly fee of $39.99. While the monthly fee may seem like a lot up front, it works out to be cheaper per item sold if you’re planning on selling a high volume of items.
Step 3: Create An Amazon Professional Seller Account
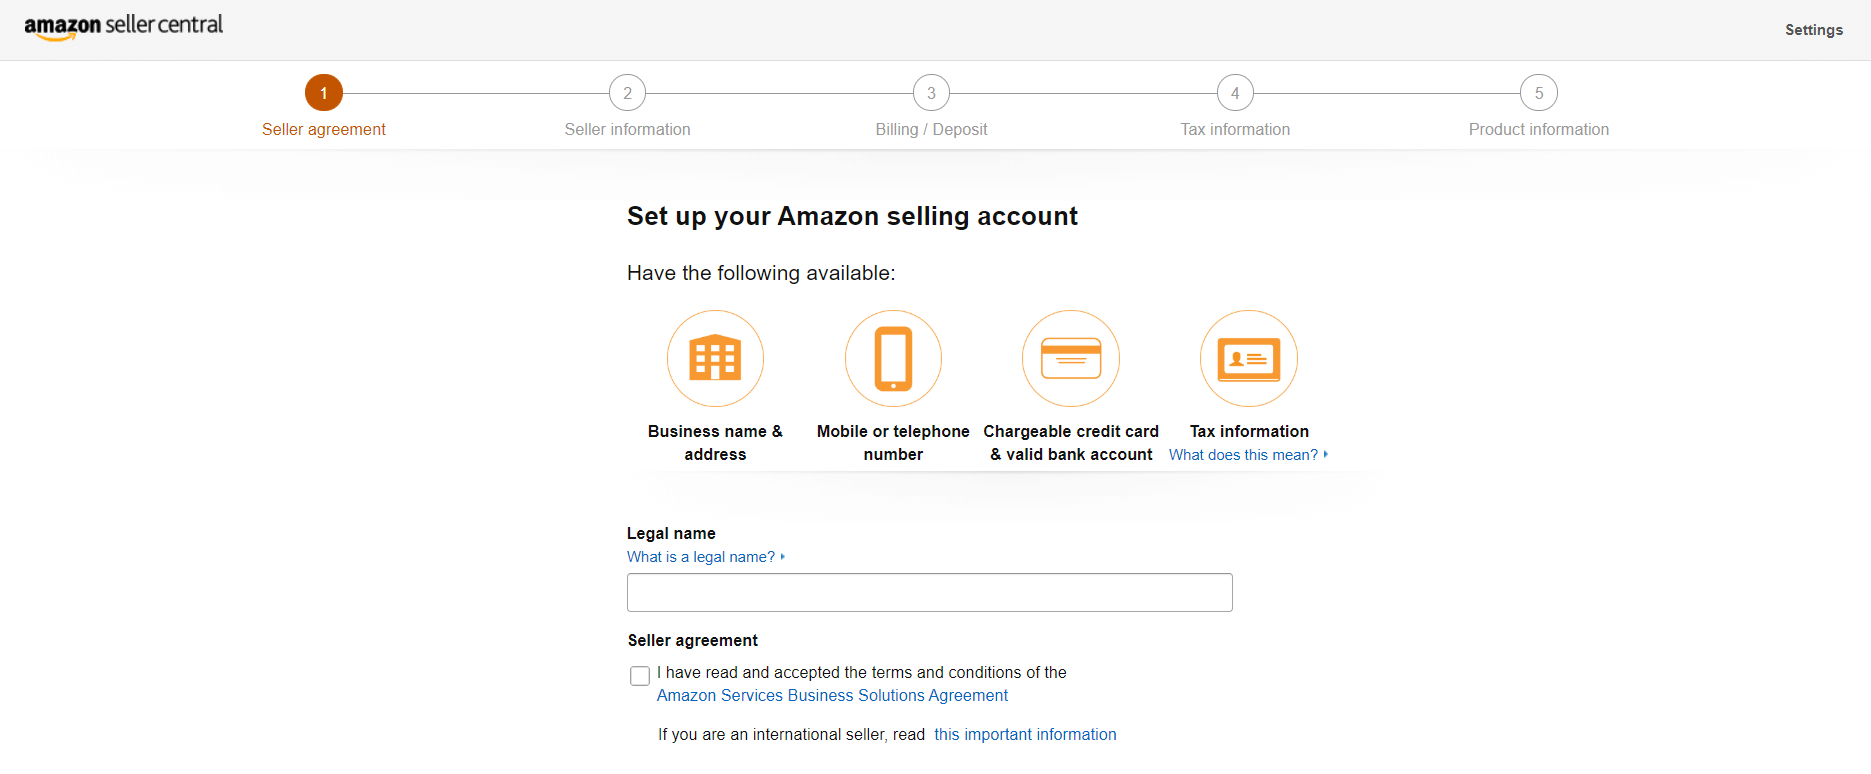
To register as a new Amazon seller, go to sellercentral.amazon.com. You’ll need the following information on hand:
- A business email address
- Your bank account number or bank routing number
- An active credit card
- A government-issued national ID
- Tax information
- A phone number
After filling out your business and contact details, you’ll need to provide bank and identity information. Depending on what products you want to sell, you may also need approval from Amazon. Popular categories that require approval include fashion, grocery, music, and jewelry. Once your new Amazon seller account is approved, you’re ready to start. Remember to stay within Amazon’s guidelines to avoid any penalties or suspensions.
Step 4: Understand Amazon’s Cost Structure
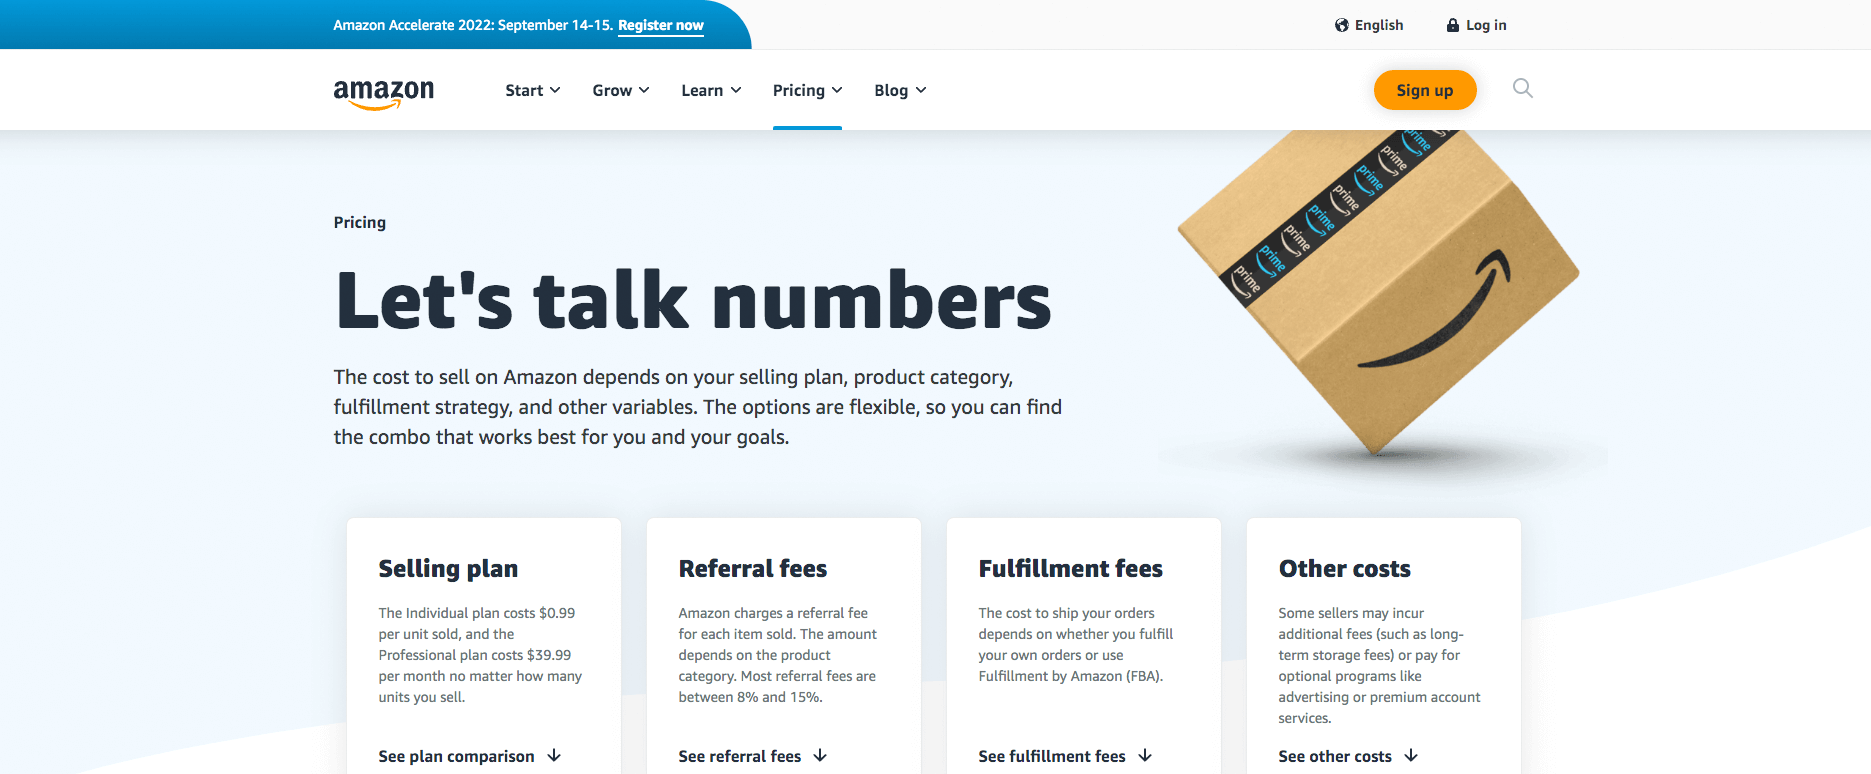
Now that you know about plans and registration on Amazon, it’s important to understand the various fees that you will incur as an Amazon seller. These fees can eat into your profits if you’re not careful, so it’s important to be aware of them from the start. The most common fees that sellers incur are:
- Referral Fees: Amazon charges a referral fee on every item sold. This fee is calculated as a percentage of the total sale price and varies depending on the item category. The average referral fee is around 15%.
- Closing Fees: For media categories like books, music, DVDs, and software, Amazon charges a flat closing fee of $1.80 per item sold.
- Amazon FBA Fees: If you use Amazon’s fulfillment services, you will be charged additional fees. These include a per-item fee, a picking fee, a weight handling fee, and monthly inventory storage fees. The standard package cost for fulfillment is around $3-$4.
- Additional Selling Fees: In addition to the fees mentioned above, Amazon charges for listing renewals, refunds, cancellations, and chargebacks. These fees can add up, so it’s important to be aware of them when calculating your profits.
With careful planning and execution, you can ensure that your business is profitable even after these costs are considered.
Step 5: Learn Amazon Seller Central
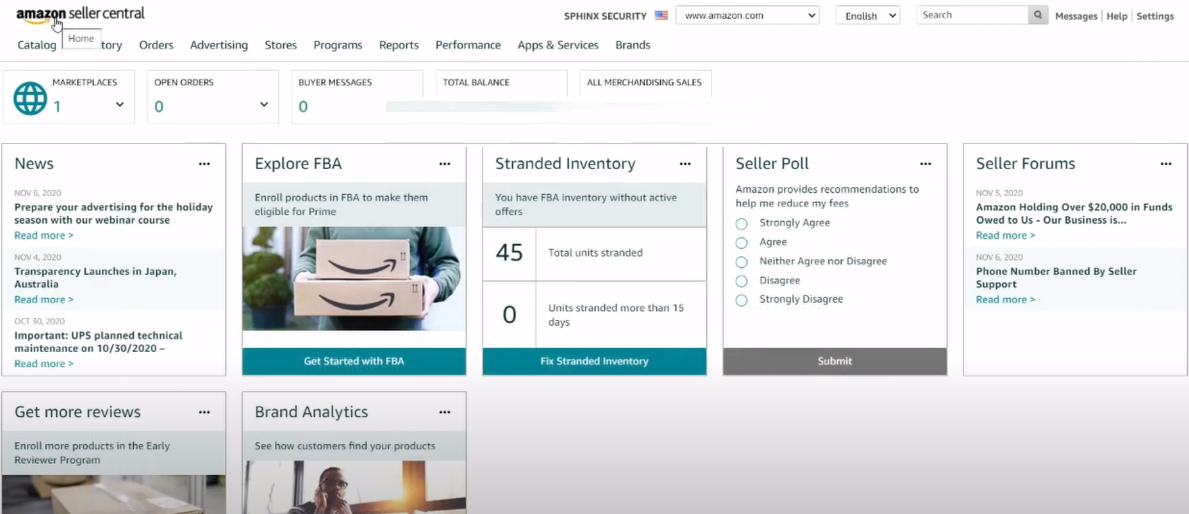
Now that you have decided to take the plunge and do business on Amazon, it is time to learn about your Seller Central account. It is the platform that you will use to list and manage your products, track your sales, fulfill orders, and interact with customers.
Fulfillment Options: Being an Amazon seller allows you to take advantage of Amazon’s world-class fulfillment network. When you use Amazon to fulfill your orders, you can be confident that your products will be delivered on time and in excellent condition.
Amazon Vendor Central: For vendors, Amazon offers many benefits, including building customer trust, a simple selling process, and marketing placements on category pages and corporate emails. Vendors also give businesses access to programs like Prime Now, Fresh, and Pantry. However, there are some disadvantages to being a vendor, such as less direct control over pricing and fulfillment, slower payment terms, and increased reliance on Amazon Vendor Manager and Retail teams.
Amazon Seller App: To manage your listings and inventory on the go, download the Amazon Seller app. This app allows you to check your sales performance and add new products.
Step 6: Choose Your Fulfillment Option
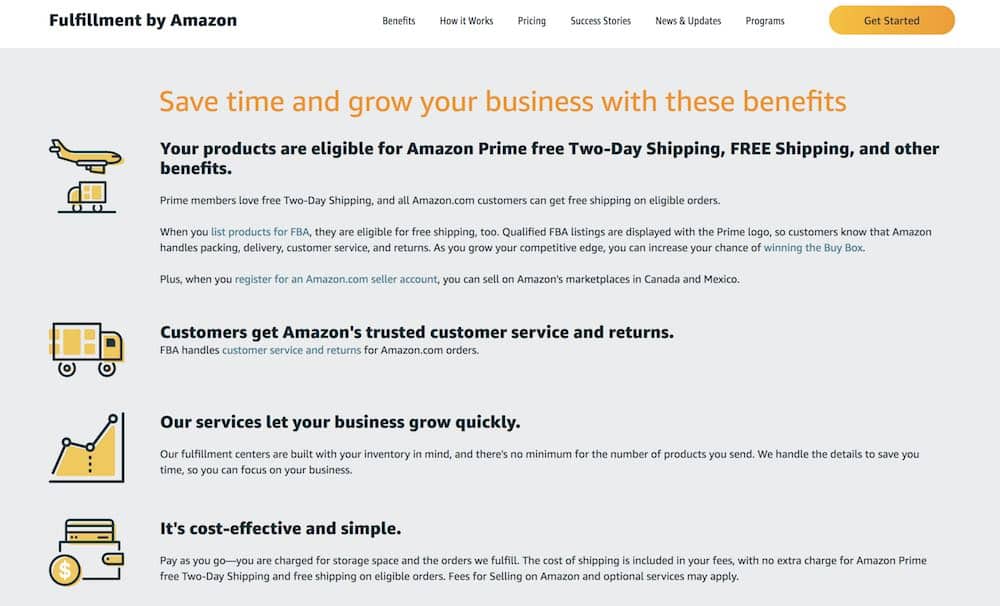
To proceed, you must now select which fulfillment option to use for your products. You have two options:
Fulfilled By Merchant (FBM): For this option, you will be responsible for storing your products, packaging, and shipping them to Amazon’s customers.
Fulfillment By Amazon (FBA): With FBA, Amazon will store your products in their fulfillment centers, pick, pack, and ship your products to your customers, and provide customer service for these products.
Step 7: List Your First Product
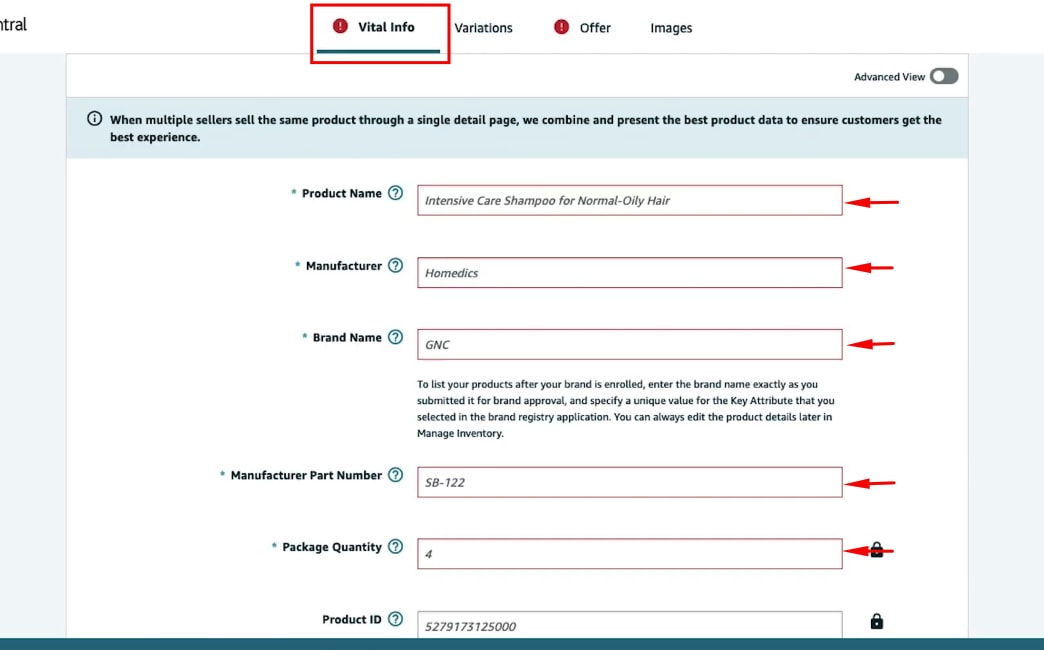
Now that your Amazon Seller account is set up, it’s time to create product listings. This is a pretty simple process, but there are a few things you’ll want to keep in mind as you go through the product listing process.
Product Title: With your product listed on Amazon, one of the first things potential buyers will see is the title. This is why it’s important to have a well-written and targeted title. Your title should include key information about your product, such as size, color, or model number.
Product Description: The next thing potential buyers will see is your product detail page. This is your chance to sell your product and convince people to buy it. Make sure your description is clear, concise, and persuasive. You’ll also want to include relevant keywords here so that people can easily find your product when searching for something specific.
High-Quality Images: Make sure you have high-quality images of your product. People want to see what they’re buying, so don’t skimp on the quality.
Pricing: When setting the selling price of your product, you’ll want to strike a balance between making a profit and being competitive. Look at what similar products are selling for and price your product accordingly in order to obtain the Buy Box position and generate sales. Do take into account the selling fees for the product category.
Product Variations: To make things easier for potential buyers, you can create product variations. This way, people can choose the specific color or size they want without searching your entire listing.
Shipping Products: You’ll need to set up shipping for your product. You can either ship it yourself using a shipping company of choice or use Amazon’s Fulfillment by Amazon program. Either way, ensure you factor in the cost of shipping when pricing your product.
FAQs
1. Are Sponsored Ads A Good Option?
For any business, advertising is a necessary evil. Sponsored ads and sponsored brands are no different. Most successful sellers will tell you that you have to spend money to make money, and with Amazon’s huge customer base, sponsored ads can be a great way to get your products in front of potential buyers. You can also try winning the buy box or driving external traffic.
2. What Are The Keywords I Should Target?
Choosing keywords is called keyword research, one of the most important aspects of Amazon SEO. If you choose the wrong keywords, you could waste time and money without getting any sales. Choose relevant keywords for your product and achieve higher search volume for your product listings.
3. How Much Should I Spend On Advertising?
It depends on your product, your competition, and your target keywords. A good rule of thumb is to start with a small budget and increase it gradually as you get more sales.
4. Do I Need To Hire A Virtual Assistant?
For many Amazon sellers, the answer is yes. Unless you have a lot of time on your hands and are good at online marketing, hiring a virtual assistant to help you run an Amazon business is a good idea.
5. What If I Can’t Fill In Every Field On The Product Detail Page?
Start with filling in all of the required items. Then, go back and try to fill out as many fields as possible. There may be some fields that are not applicable. Still, it is a good practice to complete as much of the detail page as possible so that Amazon has a better understanding of the product you are selling and where it will appear within Amazon’s marketplace.
6. Should I Set Up An Amazon Store?
Absolutely! Once you have created an Amazon account, you will want to register with Amazon Brand Registry if you have your own branded products. This gives brand owners more control over their product detail pages with enhanced brand content tools. It’s a great way to tell your brand story.
Be sure to check out our other e-commerce guides.

